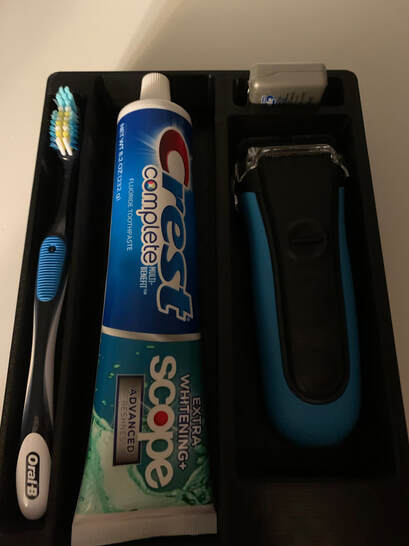
For my 3D Redesign project I looked around my house for some things that were unorganized. I stumbled across my bathroom when I remembered that I did not have a vanity. Due to this all of my things were thrown randomly into the closet. I decided to make a 3D Print that would hold my toothbrush, toothpaste, floss, and my electric razor.
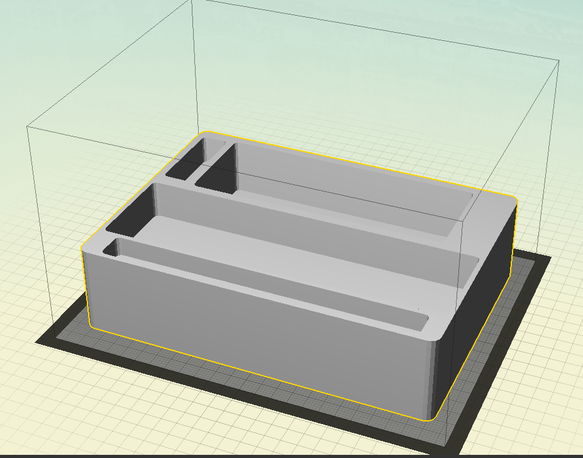
Step 1: Design on Inventor
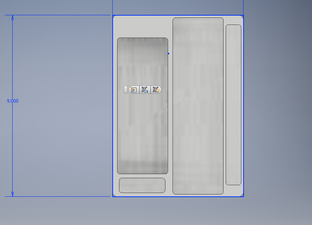
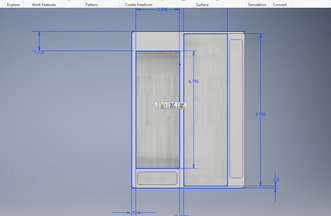
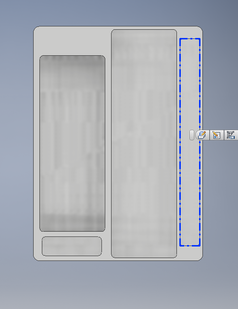
The first thing that I had to do to create this project was create the design on Inventor, the pictures below show the steps I took to create it.
|
|
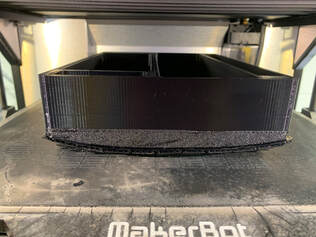
Step 2: Put into MakerBot
After creating the design in Inventor I had to put it into MakerBot and prepare to print it on the 3D printer.
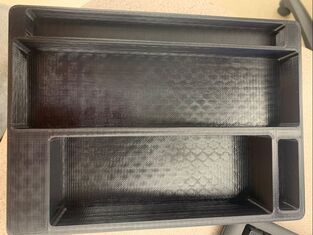
Step 3: Print and Use
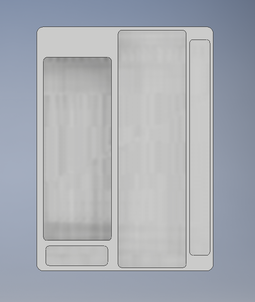
Once I did all of this, all that was left to do was print my design on the 3D printer and then use it and organize my items.
|
|
Overall in this unit I learned some more about Inventor and 3D printers. I re-learned how to use MakerBot because it has been over a year since I had used it. I also used some new tool in Inventor. Overall I did more re-learning wile creating this than anything else. Overall, this creation will be very helpful.
