Task
On the first day of Big IDEA we got tasked with out final project. The only requirements of the final project were that it had to use at least three different pieces of equipment from the lab during construction. I.E. CNC Router, CNC Mill, 3D Printer, Vinyl Cutter, or Laser Engraver.
Preparation
I first had to decide what I was going to build for my final project. I first had to decide between 10 separate ideas that I came up with. I decided that a poker table would be the coolest one of my ideas to build. To prepare to build my final project I first had to gather material. I went to Menards and got 2 4'X8' 3/4" pieces of plywood. These two pieces of plywood would serve as the table top and the rails of the Poker Table. I also had to decide what to do for the legs so I got a pair of folding legs so that the table would be lighter and easier to transport.
Design Process
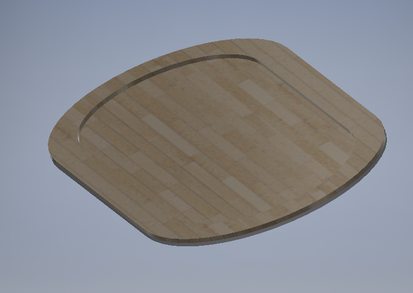
To be able to build my project I first had to design the pieces on inventor and illustrator. I decided that for my three pieces of equipment I would use the CNC Router to cut out the four main pieces, I would use the 3D Printer to create a chip holder, and I would use the vinyl cutter to create The Flop, Turn, and River design. I used Inventor to design the size and shape of the four pieces of wood I would need to use, I also used inventor to design the poker chip holder. Finally I used Illustrator to create the design for The Flop, Turn and River.
|
|
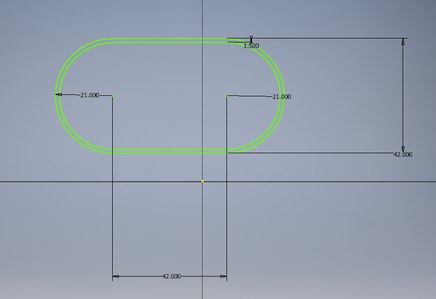
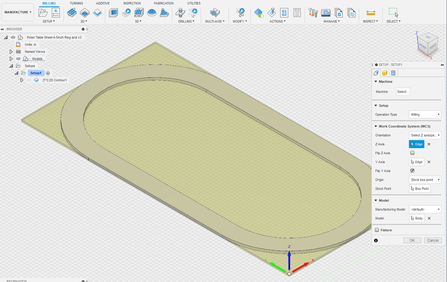
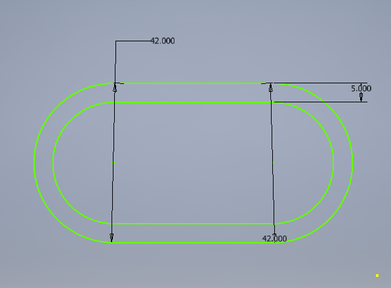
These pictures show me creating the shape for the poker table on Inventor. I first made all the dimensions the correct lengths, one board is 84 inches long with 1.5 inch ring, and the other is 84 inches long with a 5 inch ring. I then would extrude it 3/4 inch because is how thick my plywood is, I needed to extrude it that far because that would tell the CNC Router how far to cut once uploaded into the fusion software. The bottom left picture show me setting up my pieces on the Fusion 360 software so the router knew what to cut out.
Construction
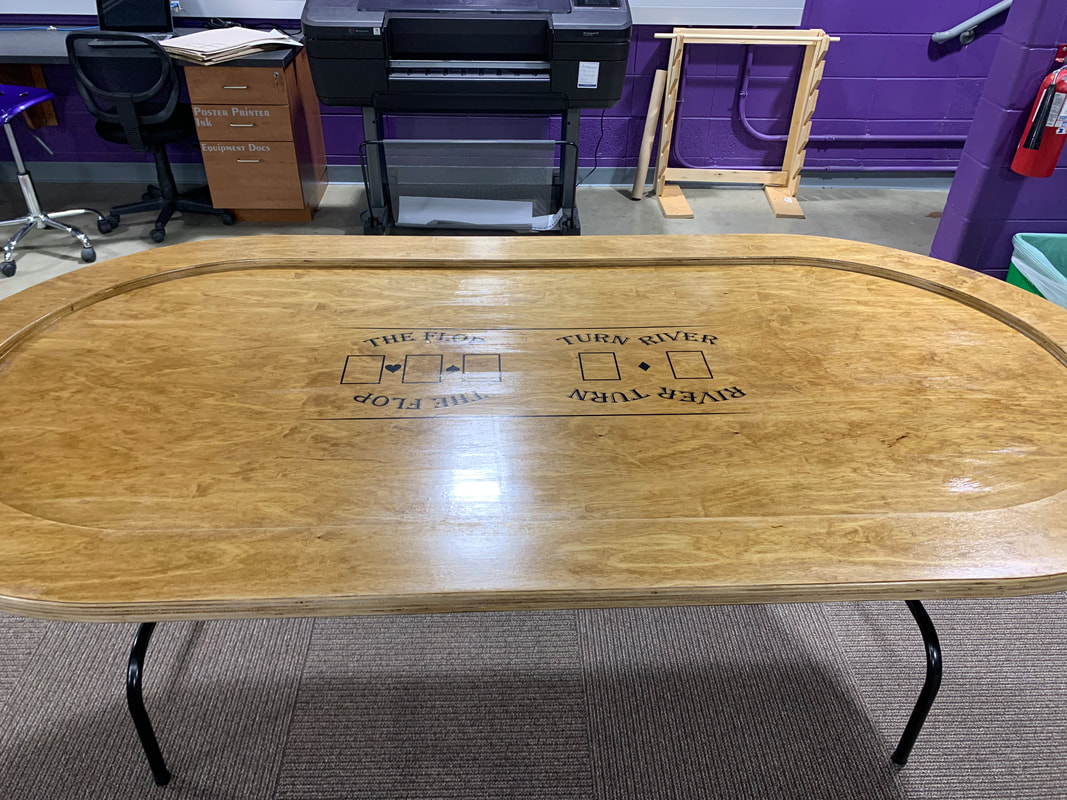
In my construction process the first step was to cut out the pieces of the wood for the table top. I then had to glue the pieces together to get the final product for the table top. After that I added the vinyl down on top of it and put on a clear coat so the vinyl did not peel. I then attached the folding legs to the table and the Poker Table was complete.
|
|
|
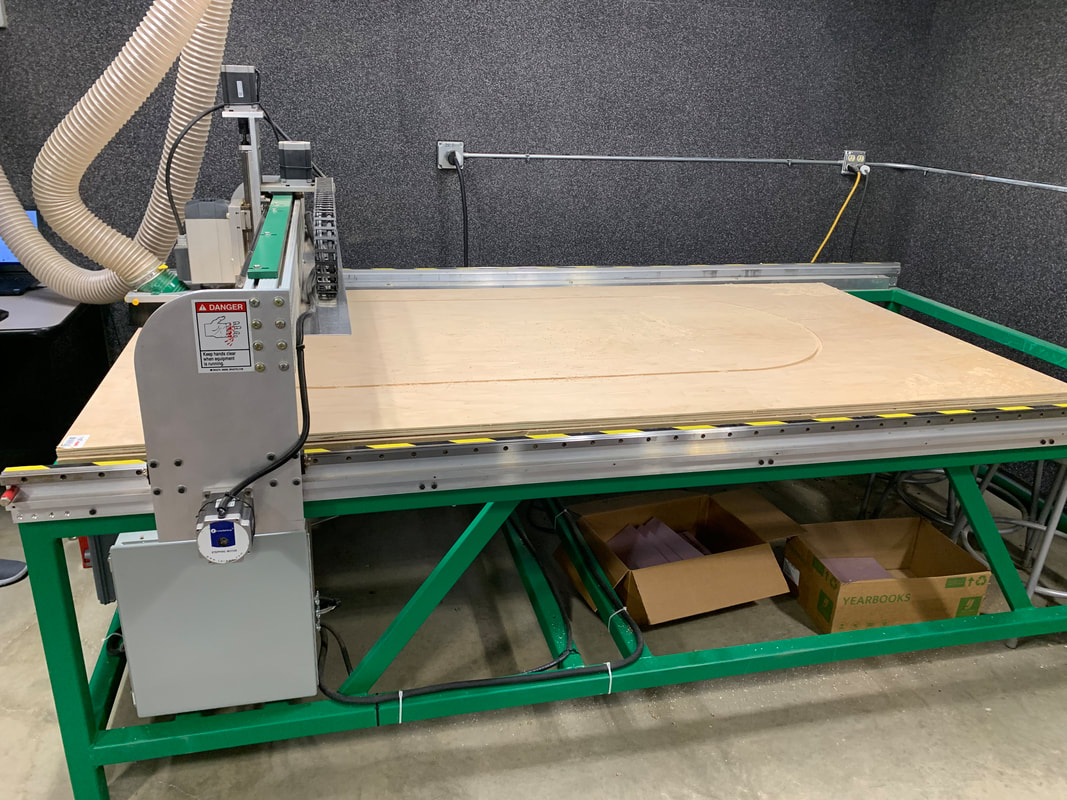
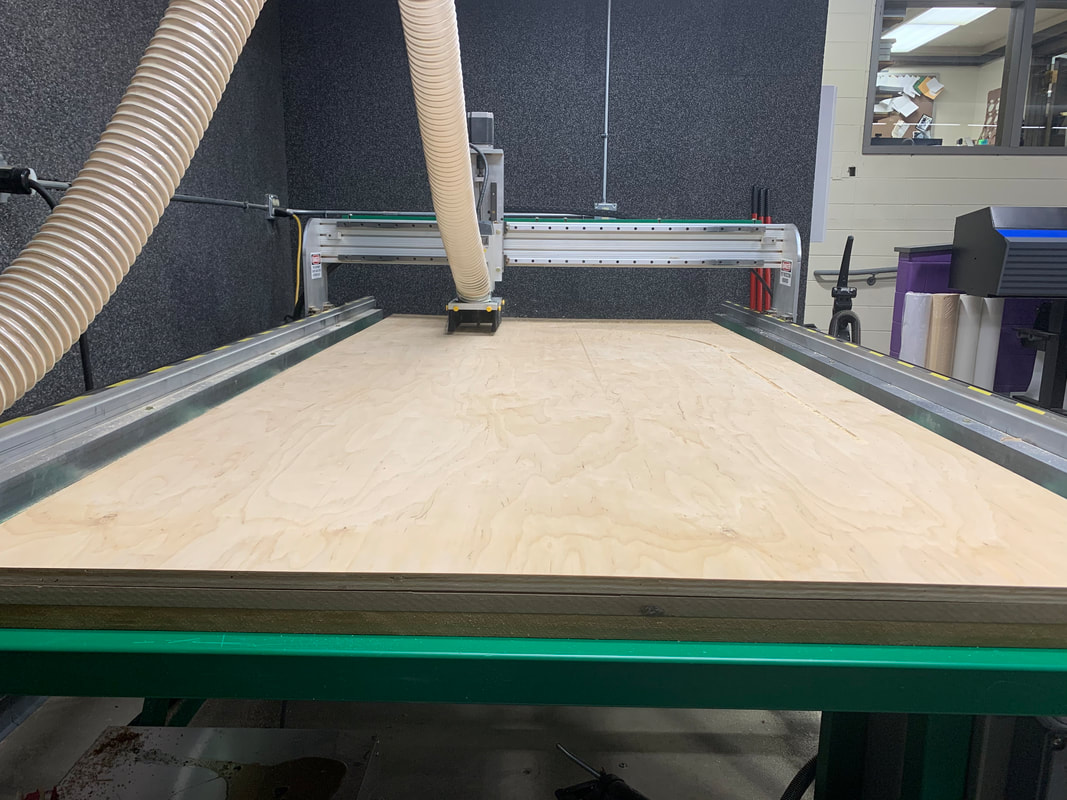
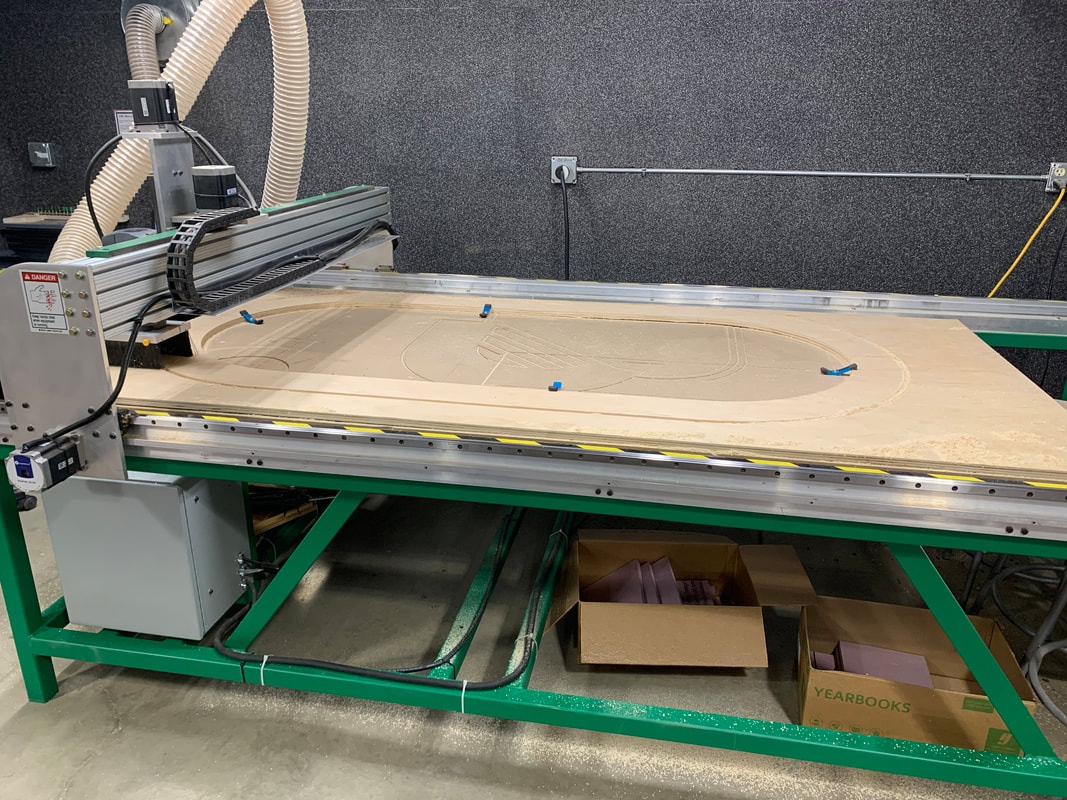
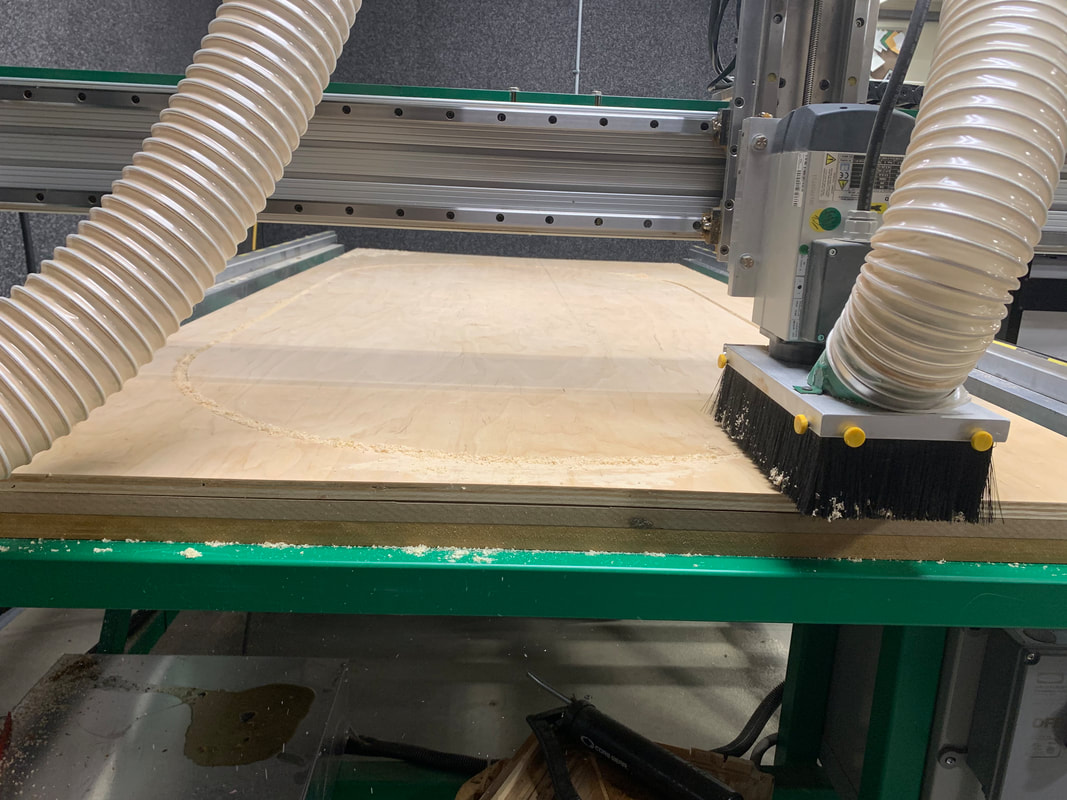
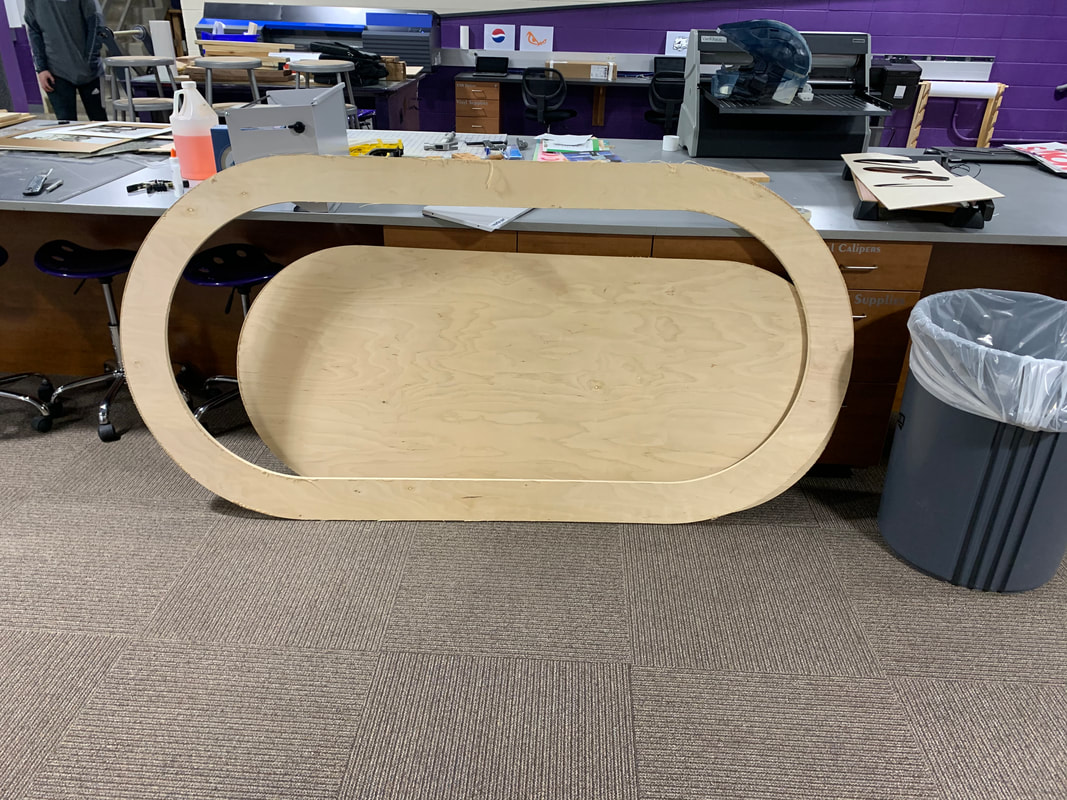
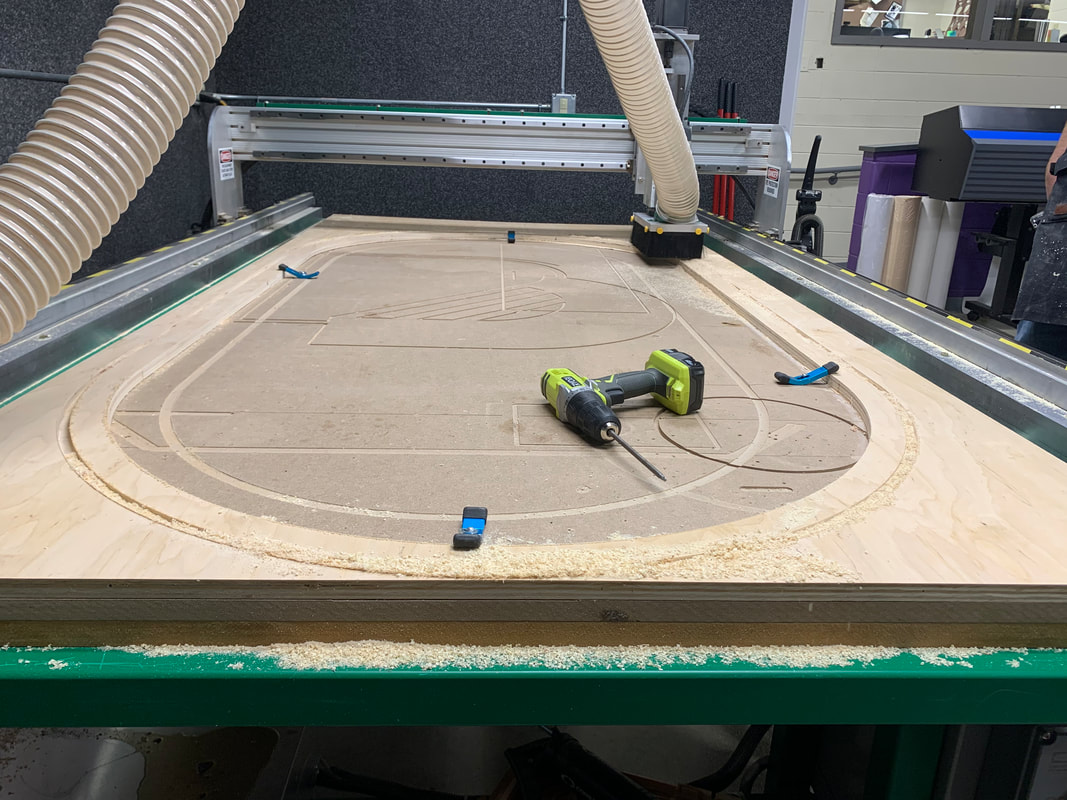
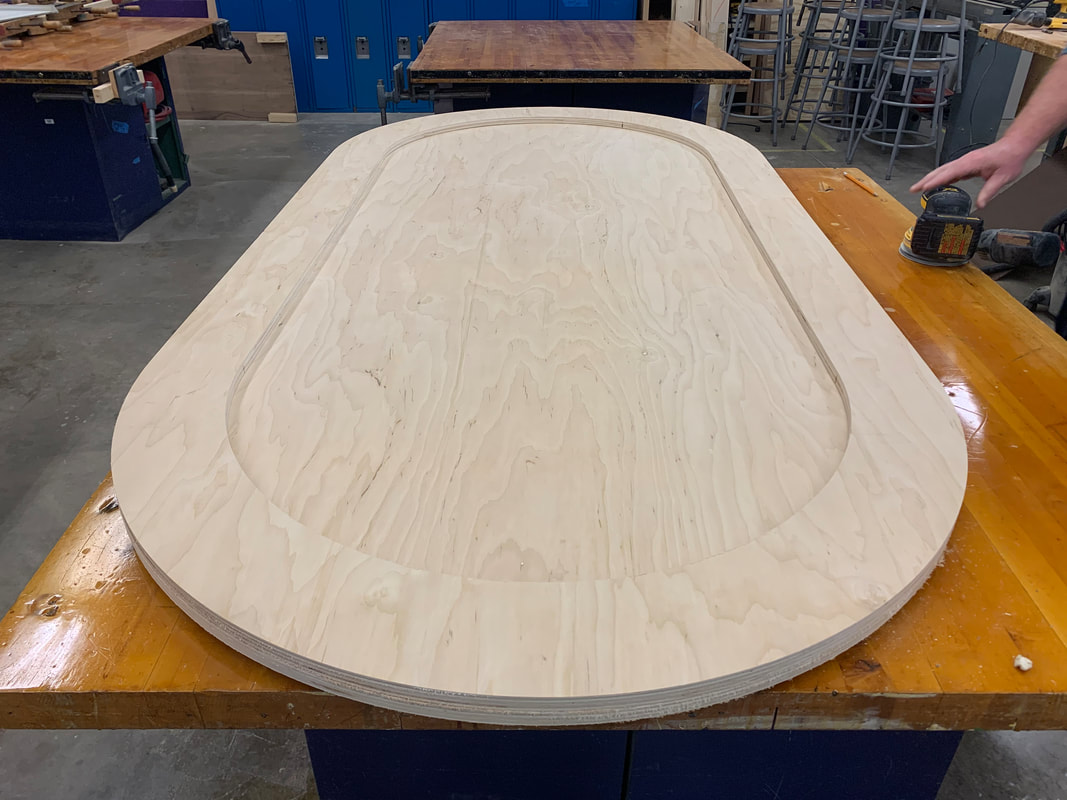
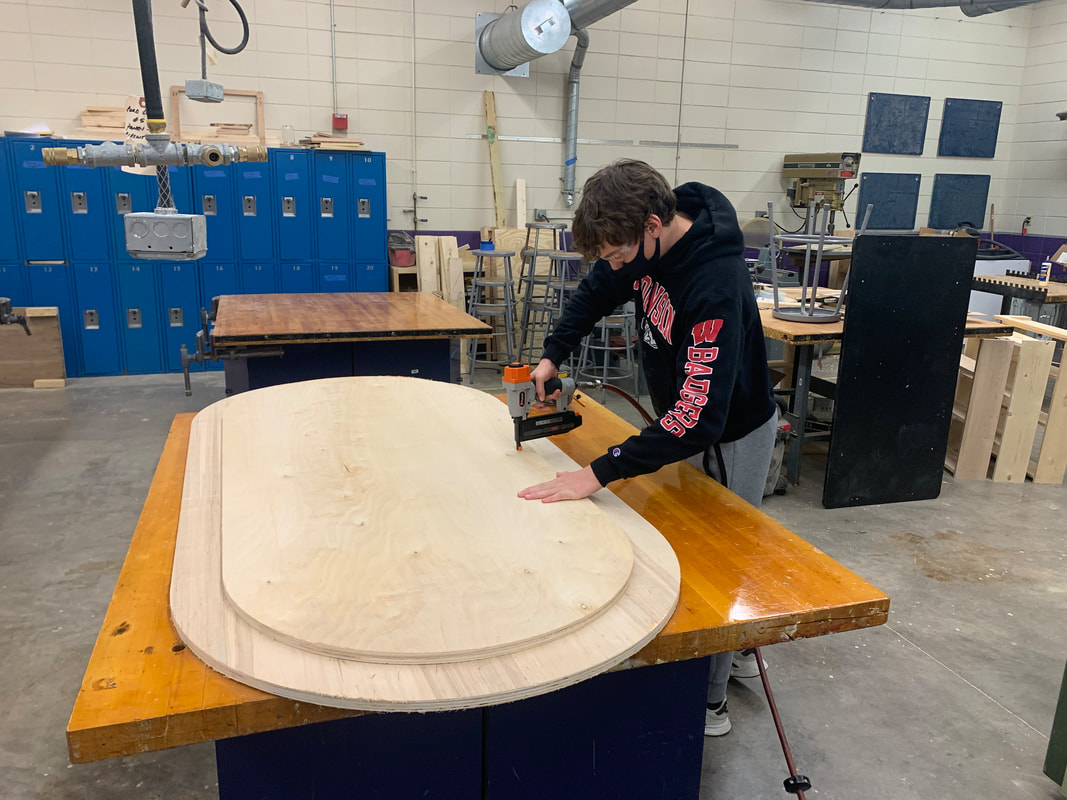
Here are some photos of me cutting out the main four pieces on the CNC Router.
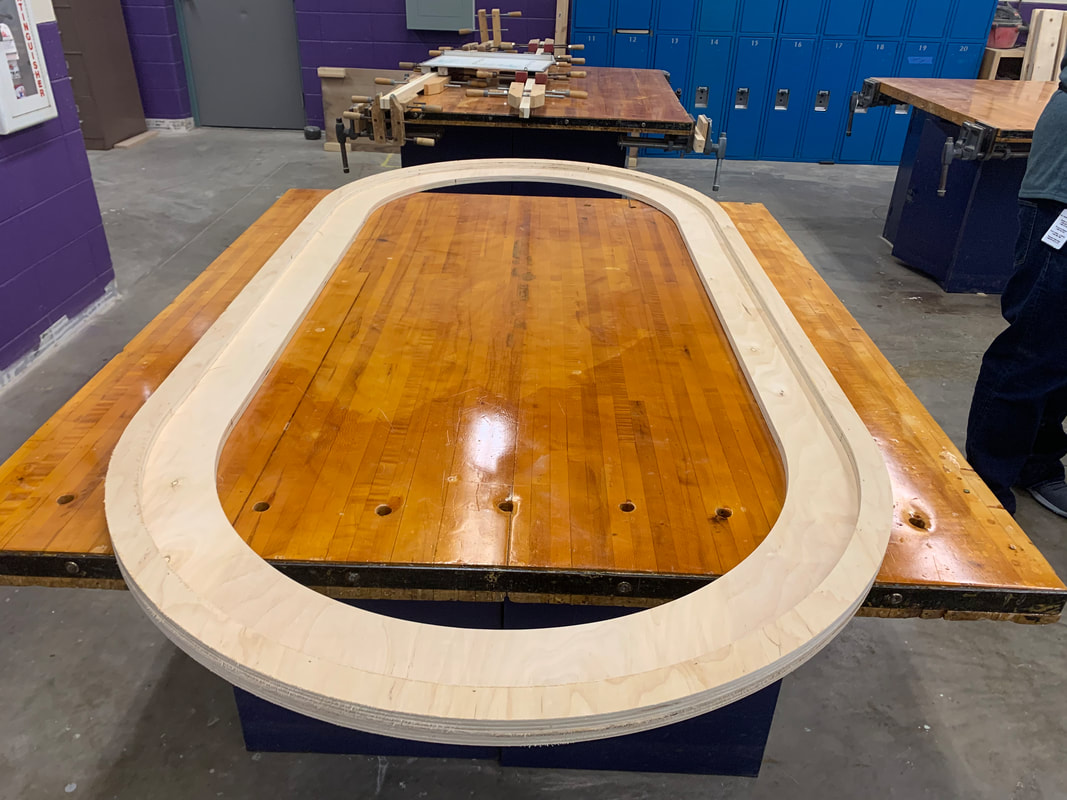
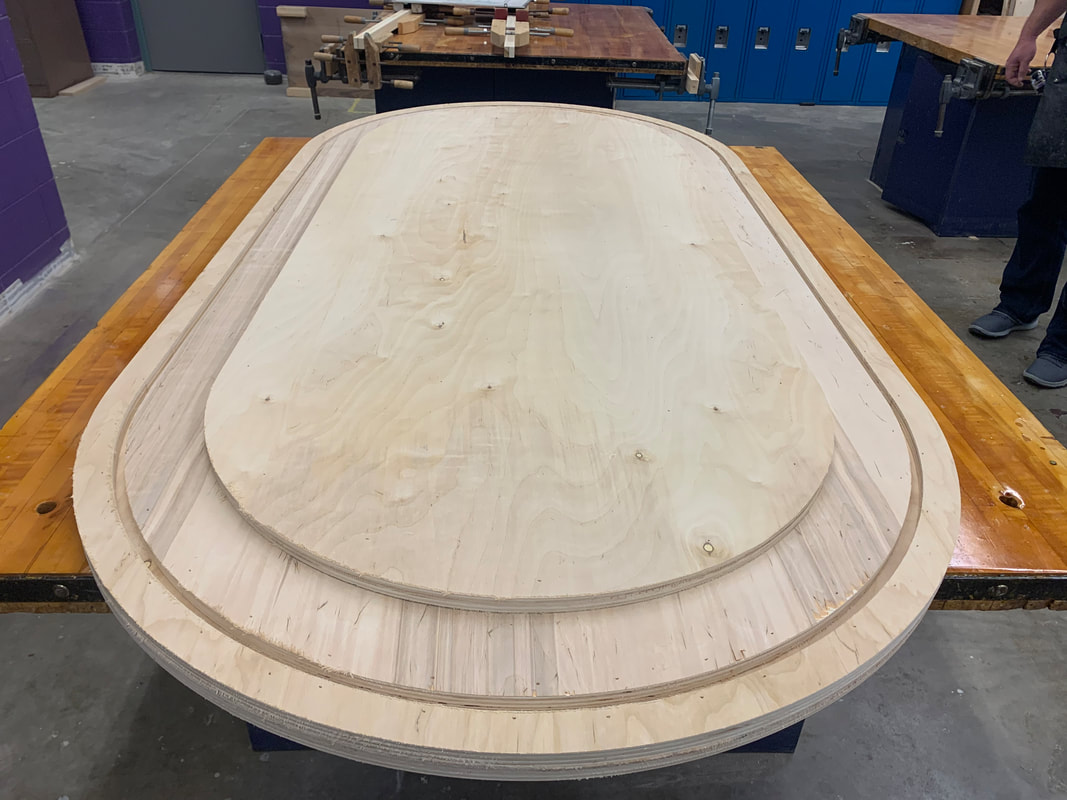
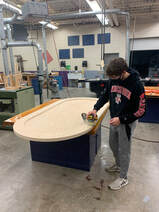
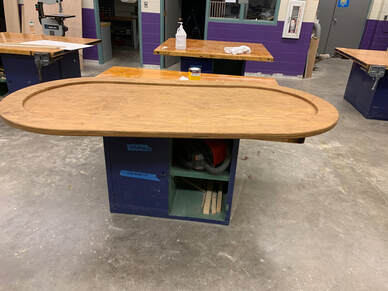
I then assembled all of the pieces and sanded it to make the edges and top smooth.
|

|
|
Creating the Poker Chips
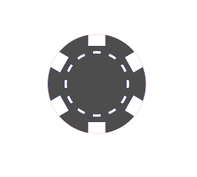
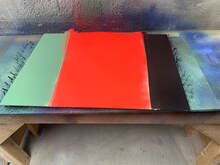
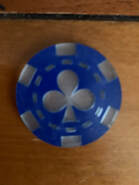
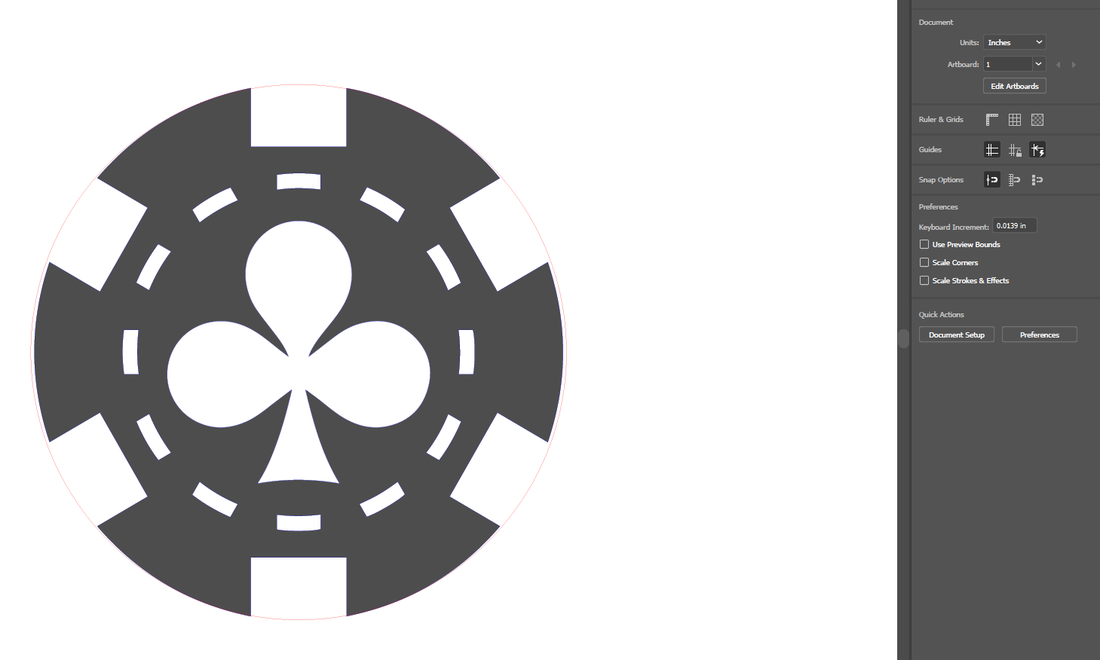
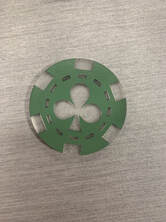
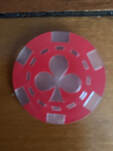
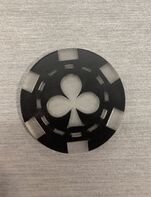
What is a custom poker table without custom poker chips? The next thing I did in my construction of this project was create poker chips. The first thing I did was go find a blank design of a poker chip I liked online. After that I copy and pasted it into Illustrator. I then added the Club for a design in the middle. After designing the Poker Chips I had to Purchase some acrylic and spray paint to actually make the chips. Finally, after my acrylic was cut to the right sizes I spray painted them and engraved and cut them out on the Laser Cutter.
|
|
|
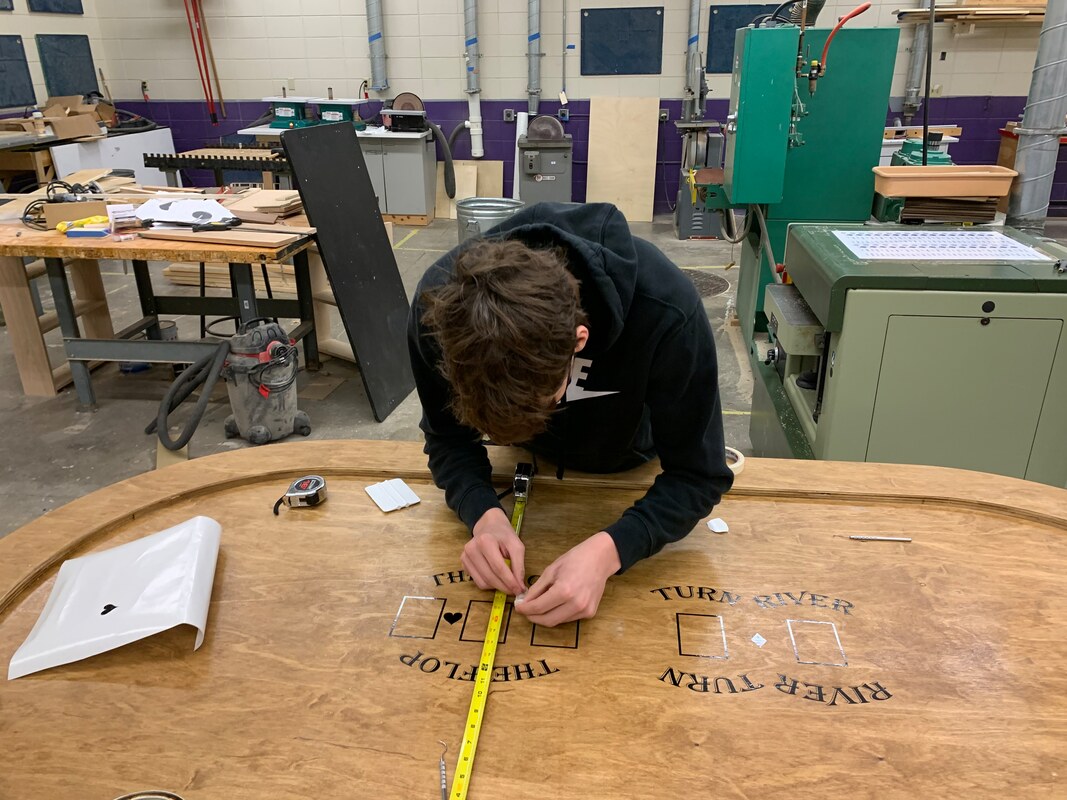
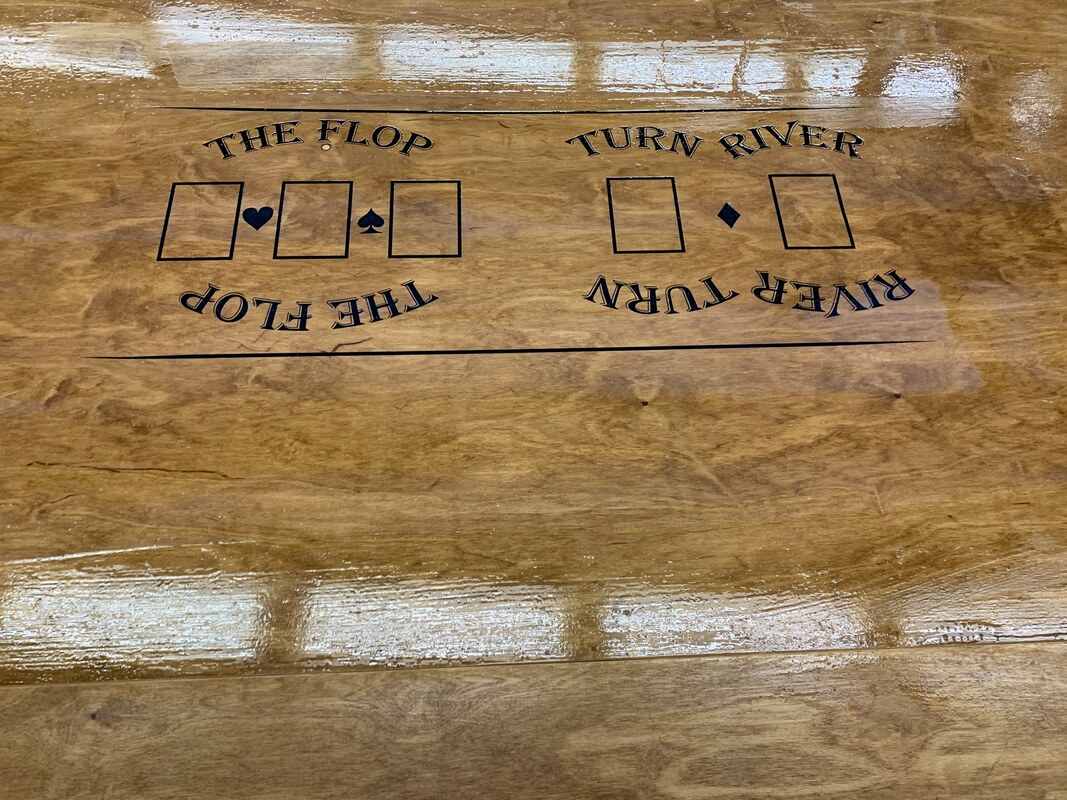
The Flop, Turn, and River
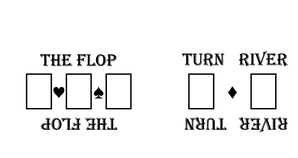
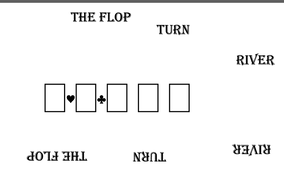
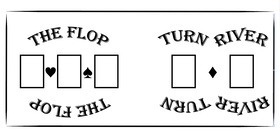
I couldn't make a poker table without having a spot to lay the cards. Due to this I had to create a design for the Flop, Turn, and River. I used Illustrator to make this design. The first thing I did was create the boxes to lay the cards, I made these 3.5 inches tall and 2.5 inches wide. I then found Images of Hearts, Diamonds, and Spades, I put these in between the card slots. I finally had to add text above and below the boxes, and added a box around it to tie it all together. Overall I think my design looks very nice and will look great on the table.
|
|
Finishing Touches
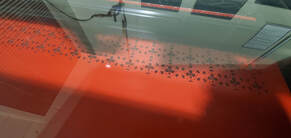
At last I could stain, poly, and add the vinyl. These were the final things I needed to do before I could officially complete my project.
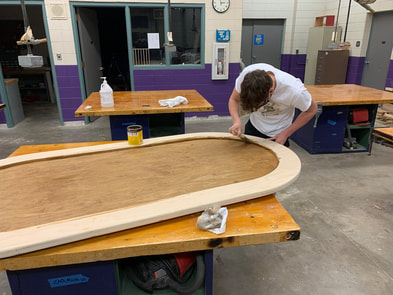
|
|
|
|