During the first few days of IDEA we used Inventor. Inventor is a software on your computer that you can use to design many different things. For our class we used it to design some widgets just to get used to using the software. We then 3D printed one of our widgets. Below are some of the widgets I drew and all of the widgets I designed in Inventor.
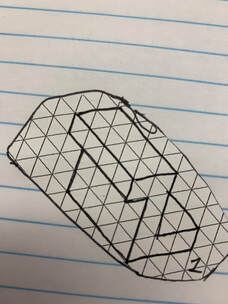
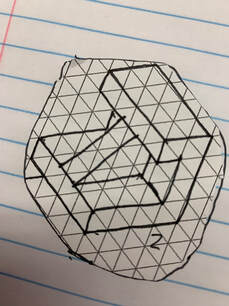
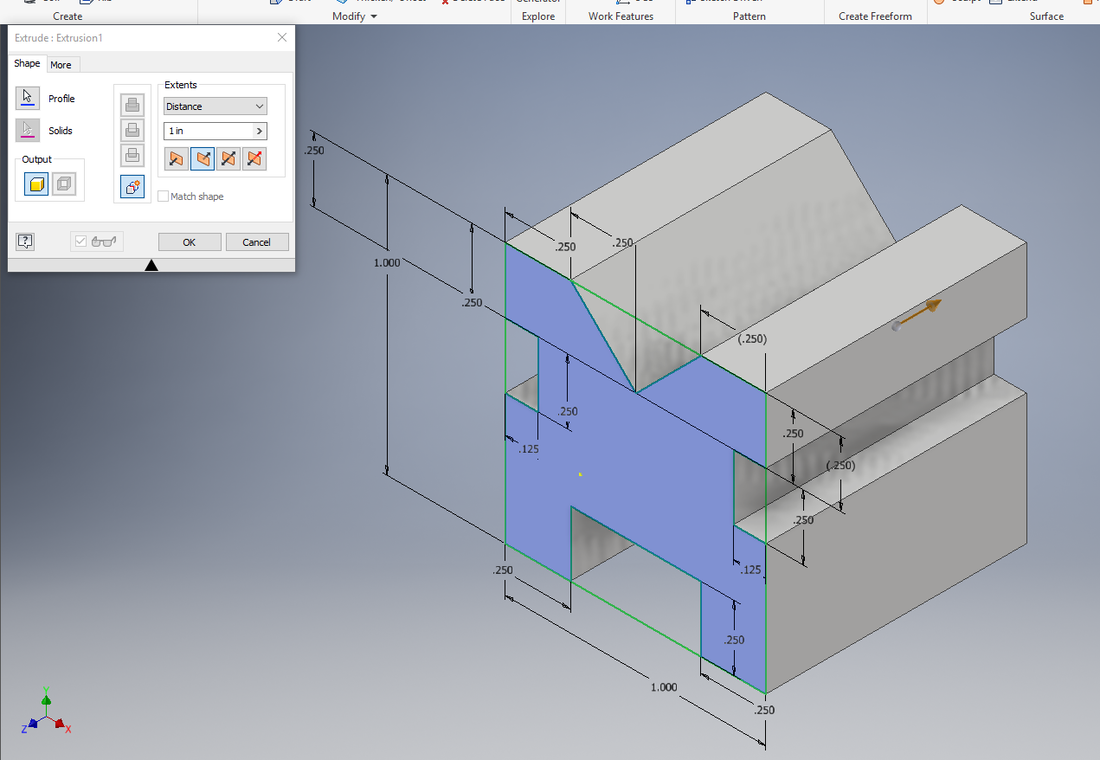
Process of creating a widget on Inventor:For the first process I drew a rough outline of the widget so that I could dimension it next.
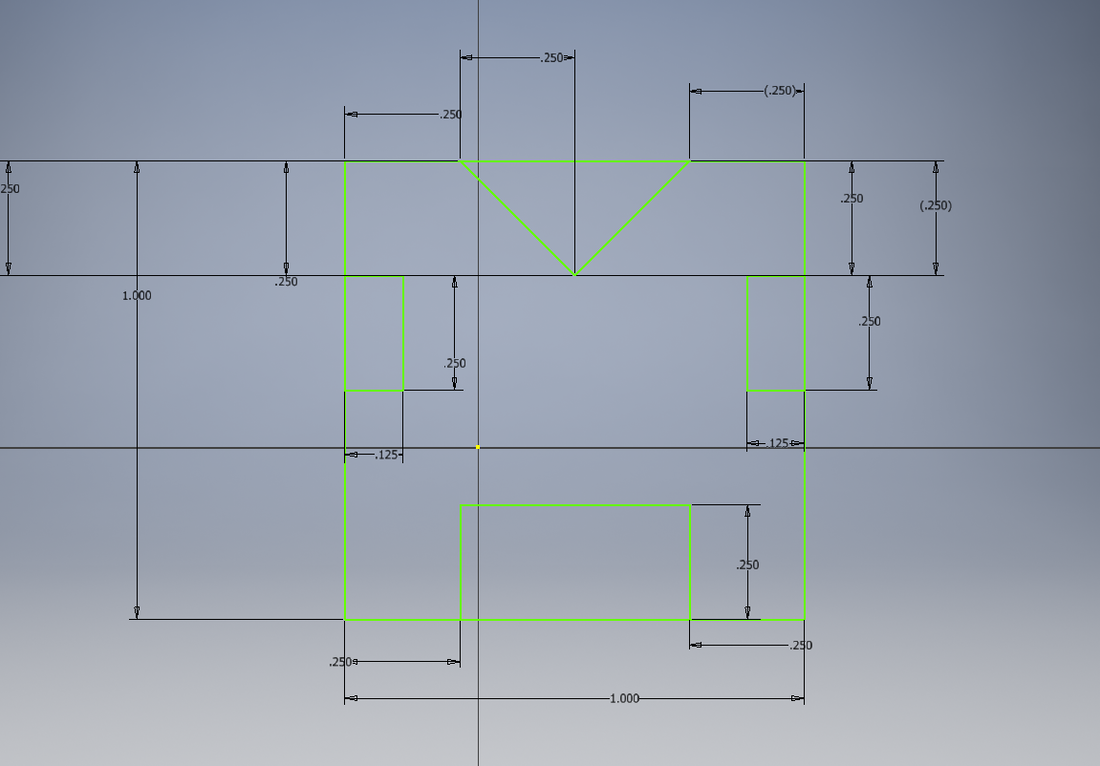
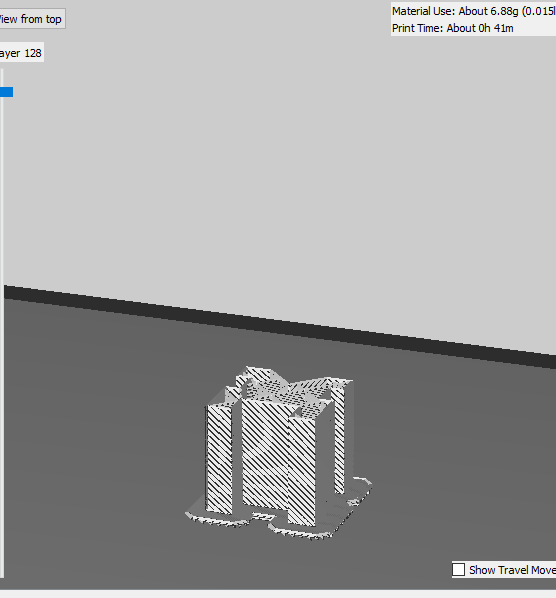
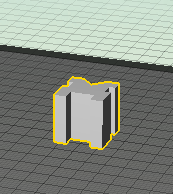
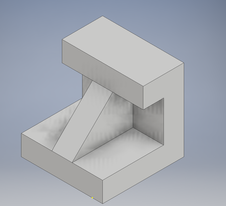
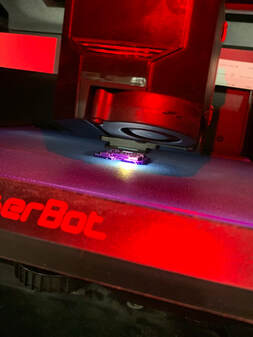
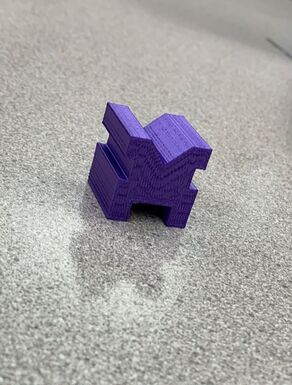
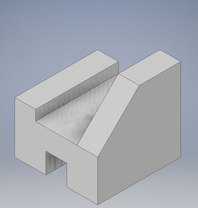
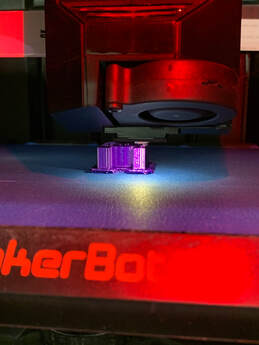
After that I had to dimension my widget so that it would be the correct size. I used the measurements that were on my sketch to know the dimensions. Next I had to extrude my sketch. By extruding it 1 inch it made my widget the correct width. Here is my final product on Inventor, now I need to 3D print my widget. For 3D printing we used a software called MakerBot. In this software I uploaded an STL file of my widget into MakerBot. I then made the size of my widget 1000% larger. After that I rotated it and made sure that it lay flat. Then I added a raft so the widget would sit on top of something. After all of those steps I put it on a USB drive and used the machines to 3D print my widget. |

|
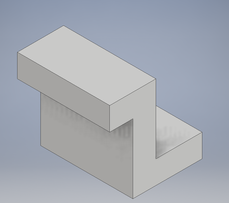
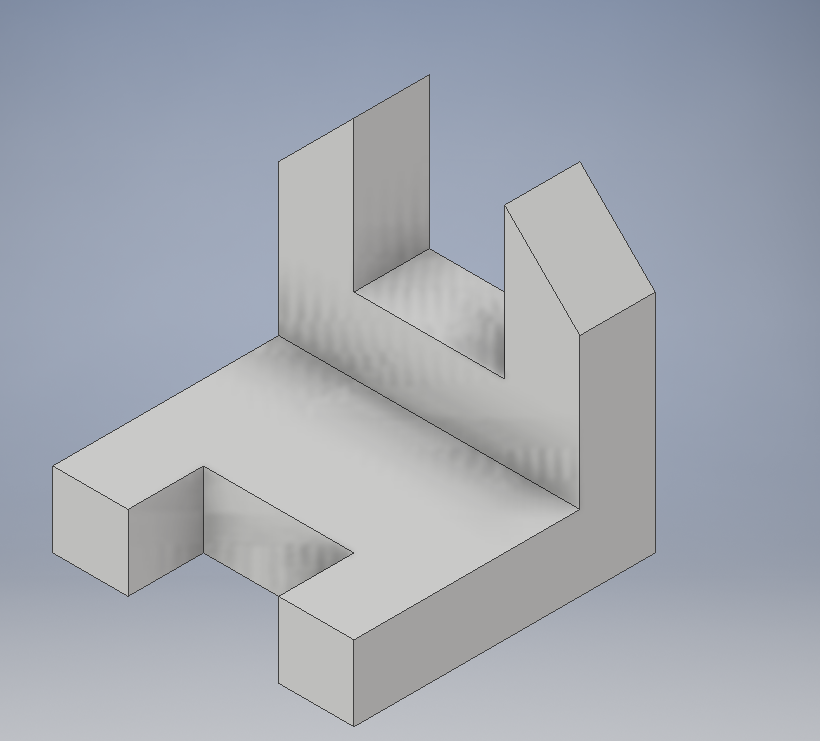
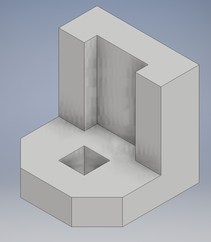
My other 5 Widgets:
|
|
|
|
Overall in this unit of IDEA it was less of me learning things and more of me relearning things I already knew. In Introduction to Industrial Tech we had already learned to use inventor so I already knew how to use that. I did however learn to use MakerBot because I had forgot how to use it. Overall this unit was a more of a review for me than anything else.
|
|
